Orb Designs Reports
VMware 2.0 Beta on Linux
Orb Home
Index (& Links) Here
Written Saturday January 29, 2000, 06:30
I don't work for, get money or products from
VMware. I just think the
software is cool, and hope you do too. bpb

 I started last night with a goal of moving the existing VMware license over to Grinch, as is. I figure (rightly, in hindsight) that putting VMware on a faster machine will benefit speed of execution greatly. Grendel here generated warnings about slow processors on installation, after all. So over to Grinch I go, and up to the VMware site to get a fresh tarball, in hopes that there has been a minor update. Much to my surprise, 2.0 (Beta) is available. More as we go, on that subject. In the meantime, I snagged the tarball, apply to have the Beta License mailed to me, and start the installation.
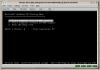
The process starts with installing the Virtual Machine, as root. I put the tarball in /usr/local, where third party software belongs. Then I untarred the file with a tar zxvf VMware-2.0-444.tar.gz. Then cd into the created vmware-distrib directory, and execute the vmware-install script. I captured the execution and installation and you can gander at it here. There is some commentary, and it closes with me installing the license in the correct location in my home directory.

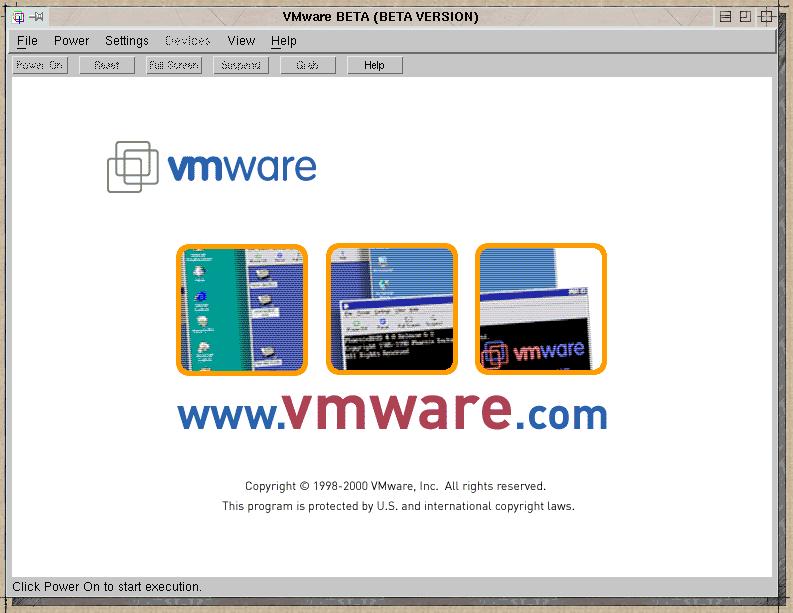
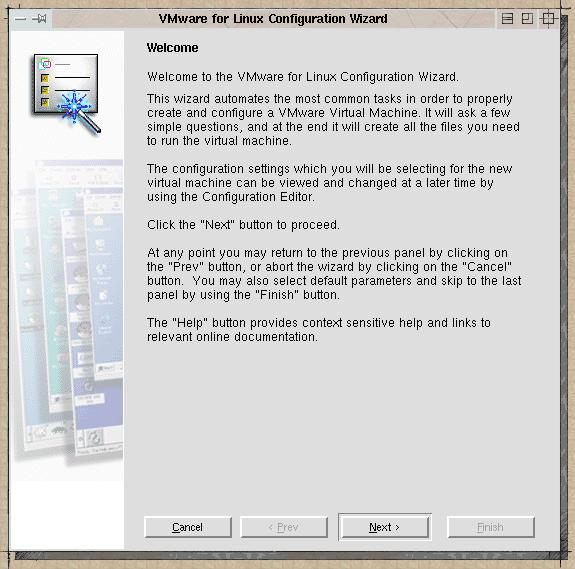
 Upper left is the VMware splash screen. Upper right is the initial VMware configuration screen. Looks fairly familiar to Windows users too, unsurprisingly, since there are versions for WinNT and Win2K as well. Configuration has improved over v1.1.
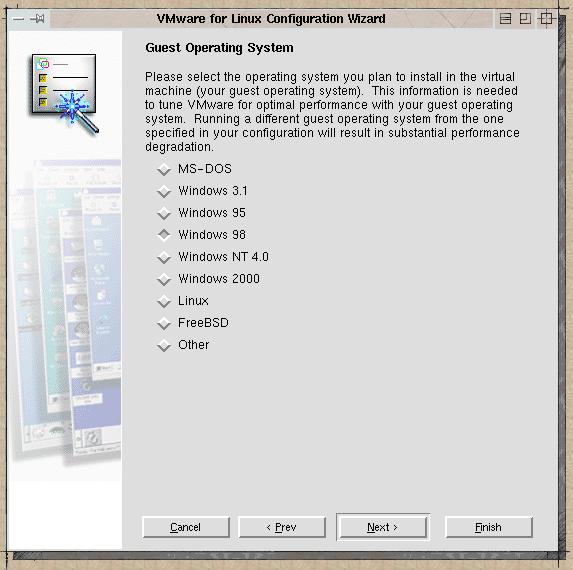
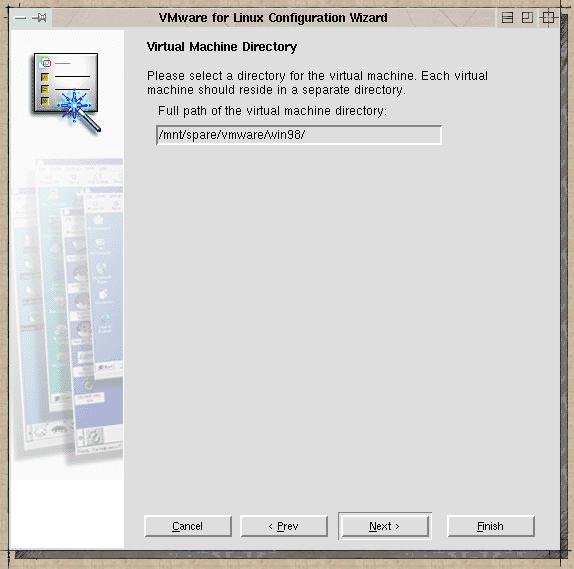
To the immediate left I selected Win98 as the initial OS to install. I have licenses for NT4.0, Win95, Win98 and Win2K RC3, but I have this feeling that NT will be dicey - and I wanted to explore this with an OS that I know works under v1.1. To the right is the selection of the directory in which the configuration and virtual machine will live. It is not made clear that all the space for your virtual disks will be coming out of the directory selected now. It defaulted to /home/brian/vmware/win98. Nope. I have a 10 gig partition that I hang off of /mnt/spare just for this purpose (as well as a space to park ISO images temporarily, things like that). With two virtual 2G disks, it was clear that the /home partition wasn't going to cut it.

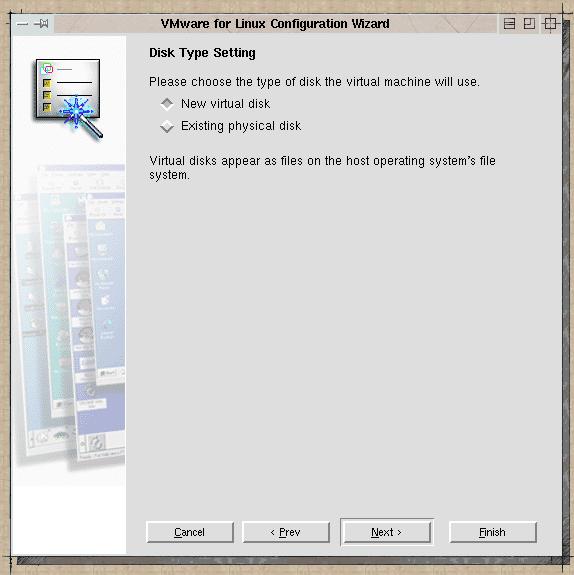
 Now that the directory selection has been made, I next select that virtual disks are to be used. 'Existing physical disk' is just that - another spindle, not an un-allocated partition on the existing drive. There may be distinct advantages to using a separate spindle, but I haven't experimented with that yet.
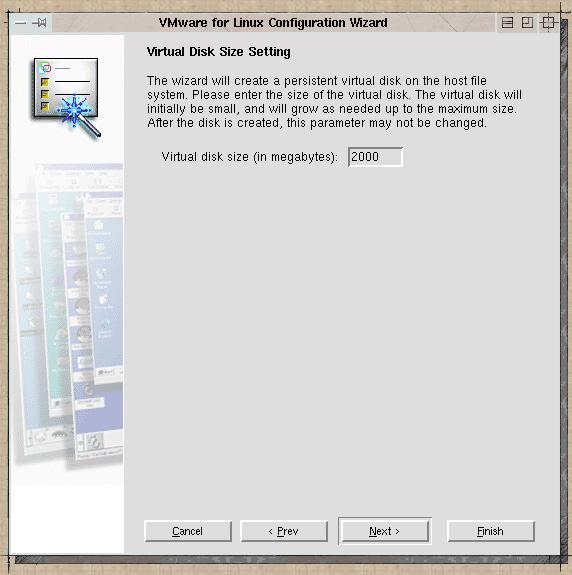
To the right is virtual disk size specification. Unpatched kernels in the 2.2.x series have a hard filesize limit of 2 gig. This apparently will go away in 2.4, with a hard file size limit roughly equivalent to the size of the partition available - heck for all I know, files will be able to span partitions. Note that we are only allocating one virtual partition at this time.

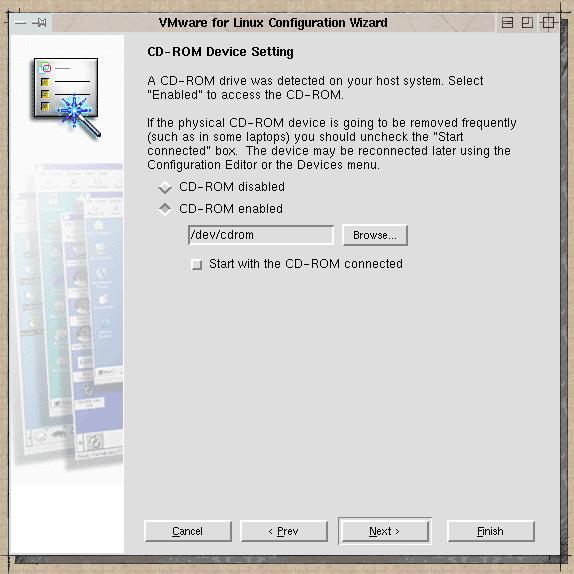
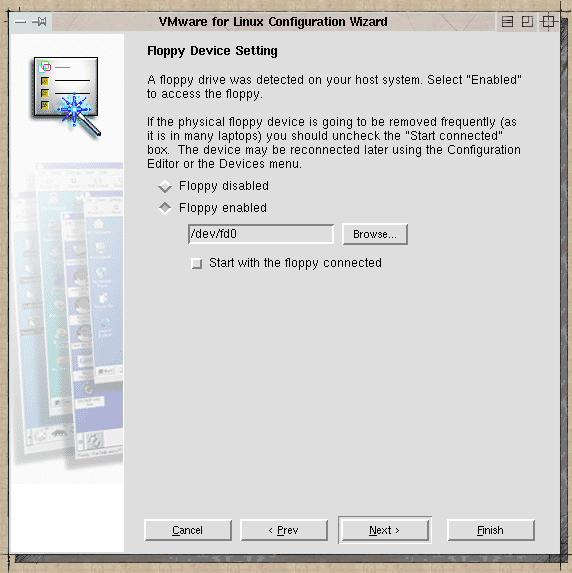
 Following that comes a flurry of device specification dialogs. More choice is almost always interesting when I am involved. I figured to start with the CDROM unconnected, and the floppy drive too, not thinking that, first, I would need both to install Win98, but second, what sort of interaction will the VM have with supermount, a drive monitoring tool available and installed in Mandrake 7.0. VM really likes to latch the devices full time. More on this later.


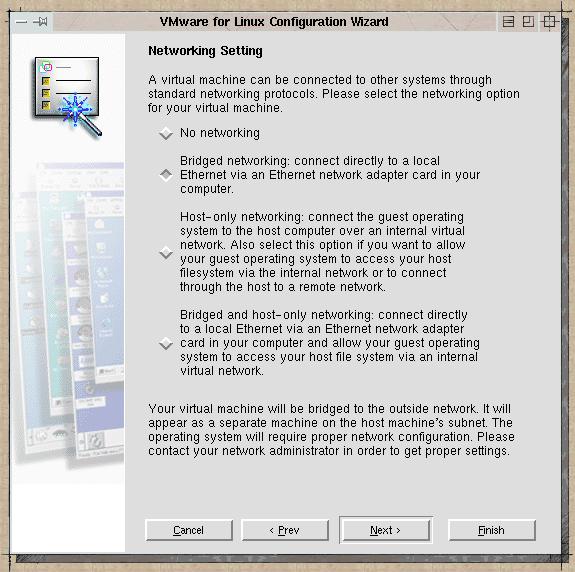
After configuring the removable media devices, selecting the networking type is the next order of business. I use Bridged networking, but may be experimenting with combined Bridged and host only in the near future - not sure about the advantages of that one for me.
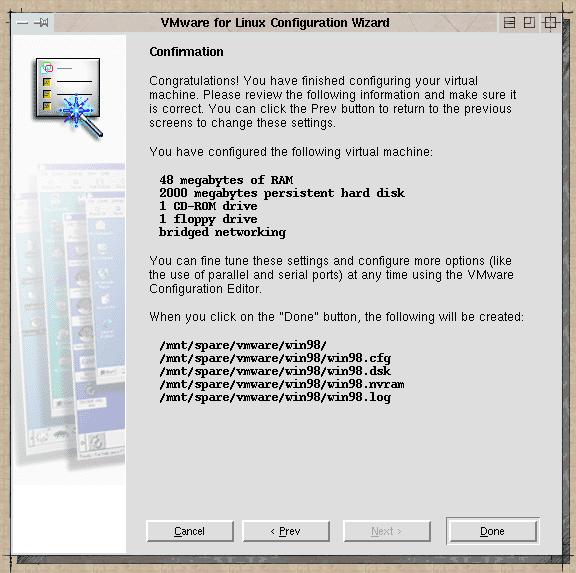
To the right, the configuration completion dialog is displayed. Note the defaults which are given. To really run this properly I would want more ram, and another virtual disk. I will set those up shortly.
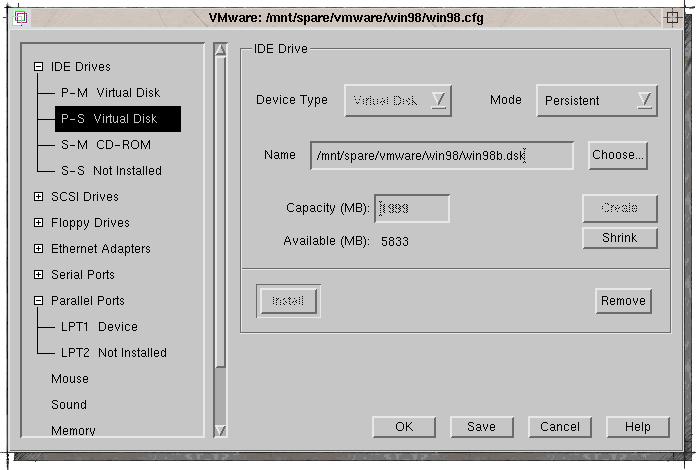
 If you looked at one of the previous screen shots, you will note that there is a VM menu selection for Settings. This includes, among other capabilities, the configuration dialog (shown at left) and the devices sub-menu, which allow me to connect and disconnect the removable media devices from the VM - important when the host system needs access to the resources. To the left, I am adding a second virtual HD to my configuration. I also bumped up the memory from 48 M up to 64 M.
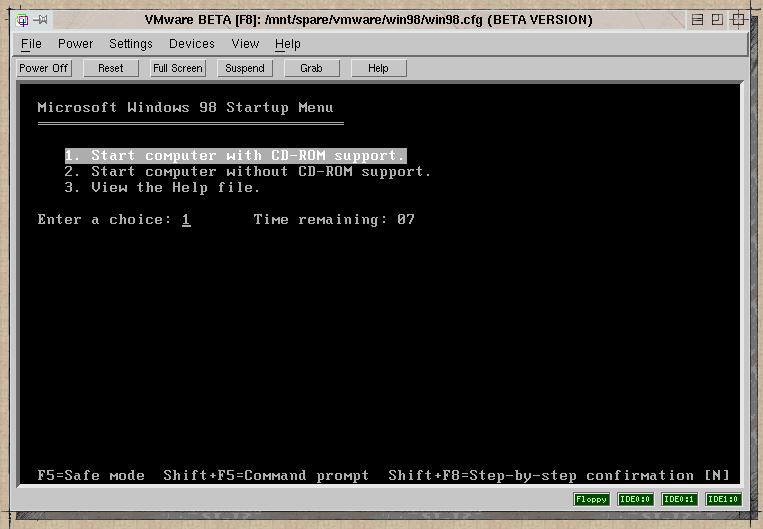
Then initial VM booting, using the Windows 98 startup disk. Just in smoothness of operation, and speed of transition from one state to another, there have been many under the hood improvements in VMware, getting it to the 2.0 Beta stage. Of course, I have to throw in a monkey wrench.

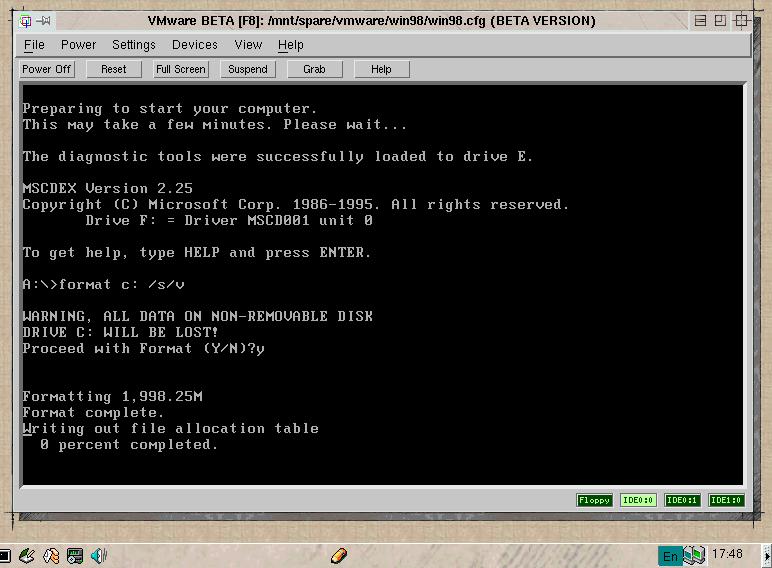
 When the boot was complete, I attempted to start the setup process on the Win98 CDROM 7 or 20 times, groaning and making all sorts of whining noises, blaming supermount, cursing my desire to play with Beta software, shouting about . . . oh - I didn't create or format my shiny new virtual hard drives first, did I? Cringe. Once the virtual C and D drives were formatted properly, I was able to start setup without difficulty. I must to some experiments with Supermount, though, and report back to VMware. While I was able to read from the CDROM, I got lots of error and timeout messages in the process. It appears that VMware and Supermount must joust every time access is required. Tricky, that, but I got it running. I probably should have just copied the CABs to virtual D and installed from there, but I am stubborn.

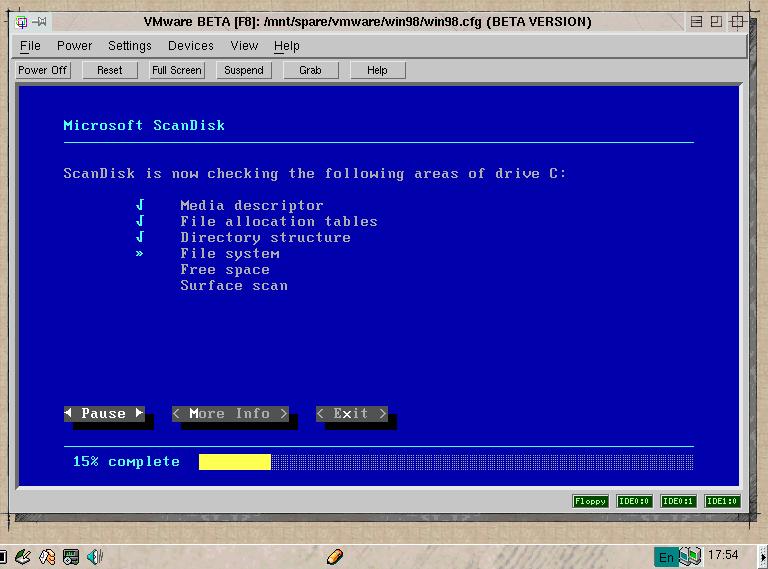
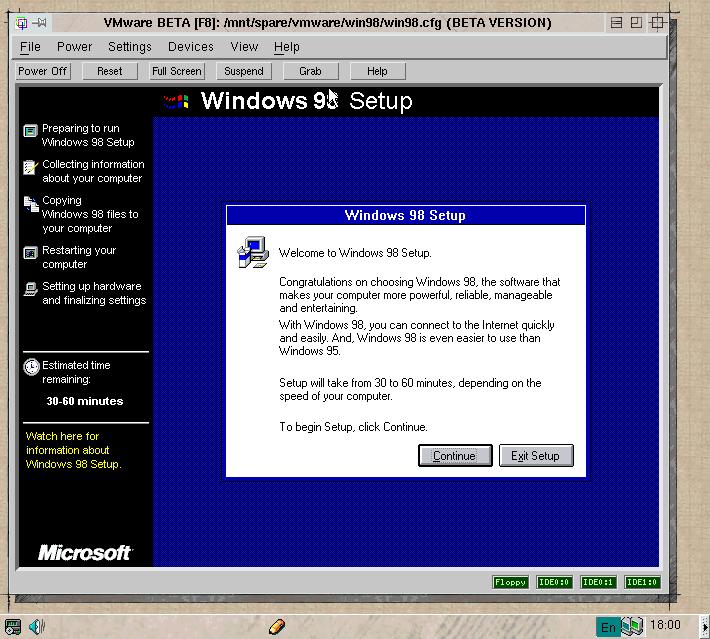
 Next, Scandisk did it's thing, no faster than one might expect. Then into the Win98 SE installation process. Please note that all Win98 sees at this time is a virtual VGA-16 video card. Later, we install a virtual SVGA driver that allows resolutions up to the bit depth and screen size of the host OS. Also, keep an eye on that Estimated Time to Completion area - Although I had dinner in the middle of this process, time was infinitely variable during this process. Still, I attribute it to the battle with Supermount. More spearmints another time.

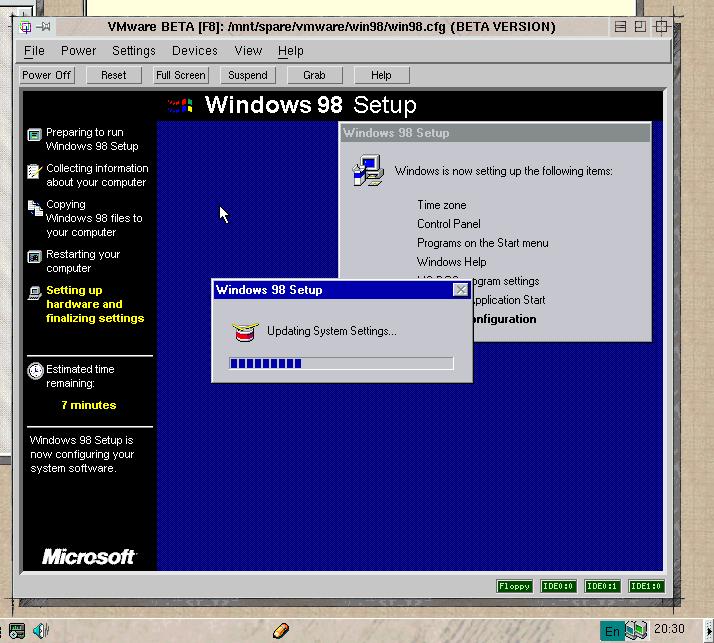
 On second hand, don't keep an eye on the Estimated Time Remaining. I just skipped 10 pictures of Windows 98 installation, something I am sure most of us are tire of seeing. 109 estimated Microsoft minutes passed in about 80 real minutes, and the installation came off beautifully.
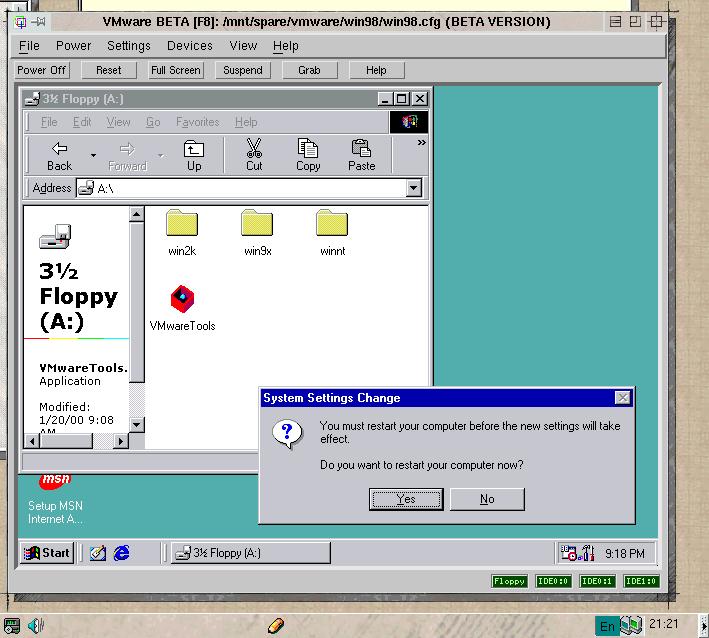
To the right, I am showing the final bits of installing the VMware Tools... From the VMware file menu, select to Install Tools Floppy. This, under VMware 1.1, was an actual disk image that you downloaded separately, and wrote to floppy, then installed into your guest OS. Now, by executing the above command, you point the virtual floppy driver to a virtual floppy containing the VMware Tools, load them and bail. From this point forward, all is gravy.
I hope you found this informative and useful. Regards. Oh, and kudos to the VMware team.
Orb Home
Index (& Links) Here
All Content Copyright © 1999, 2000
Brian P. Bilbrey.
All Rights Reserved.
 I started last night with a goal of moving the existing VMware license over to Grinch, as is. I figure (rightly, in hindsight) that putting VMware on a faster machine will benefit speed of execution greatly. Grendel here generated warnings about slow processors on installation, after all. So over to Grinch I go, and up to the VMware site to get a fresh tarball, in hopes that there has been a minor update. Much to my surprise, 2.0 (Beta) is available. More as we go, on that subject. In the meantime, I snagged the tarball, apply to have the Beta License mailed to me, and start the installation.