SuSE USA was kind enough to send me copies of their 7.3 Distribution, both the Professional and Personal Versions. I'll be making use of their material in my next book. In the meantime, a number of readers have given high praise to this version of Linux, and suggested I work with it, and report my findings to you. So, without further ado - Suse Linux Professional 7.3.
This installation is going onto a virtual machine, courtesy of VMware Workstation 3.0. I've allocated a 5G virtual partition to the installation, along with 160M of RAM (out of the 512 on this box). Assorted other system resource, from sound and IP connectivity, are also provisioned. No dialup, though, nor ISDN.
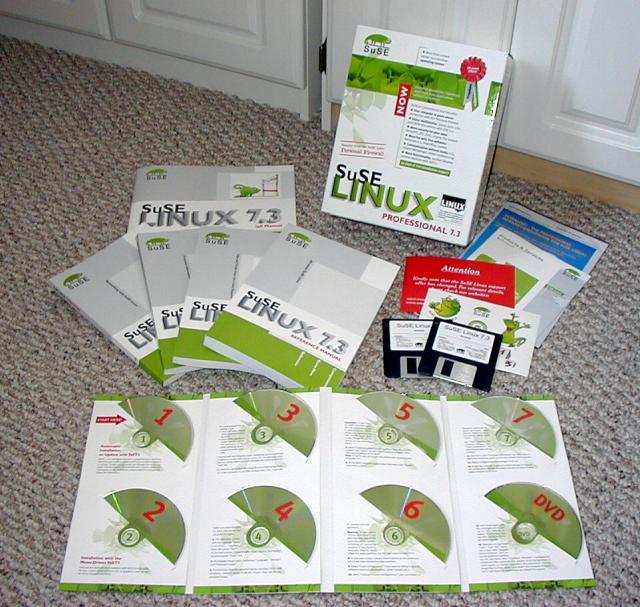
 SuSE Linux is praised for both the quantity and quality of their user documentation. As you can see in the picture at right, the sheer content of this retail box edition is marvelous. Along with a small Quick Install Manual, there are books (really, books) on the following subjects: Network, Applications, Configuration and Reference Manual. Each has a table of contents, and what appears to be a reasonably complete and proper index. I like indexes! However, for the purposes of this test run, I'll only use the Quick Install Manual. I figure I'd best do so as SuSE 7.3, like it's predecessor, comes with seven CDROMS and one DVD (which replicates all the content in the seven, or so I am told - anyone handing out DVD-RAM drives for cheap, yet?). So, let's dive into SuSE.

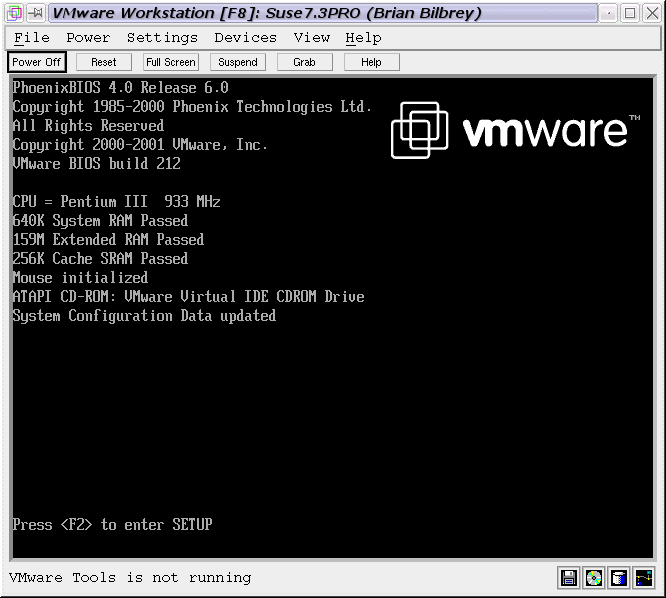
Booting the VM
|

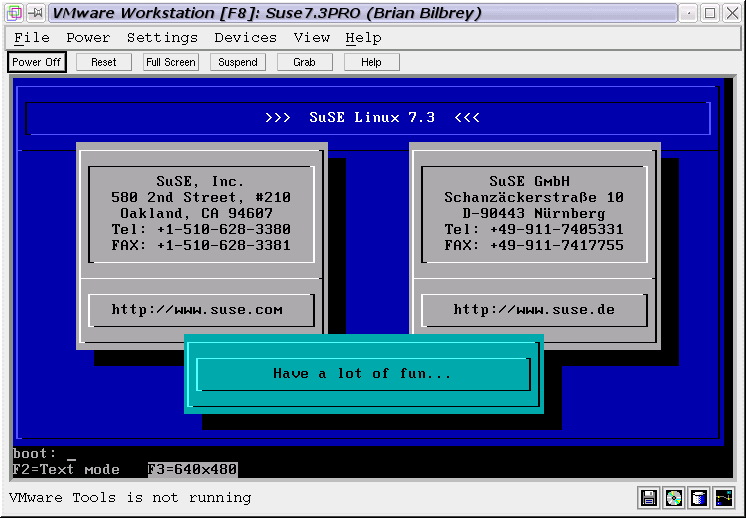
SuSE boot screen
|

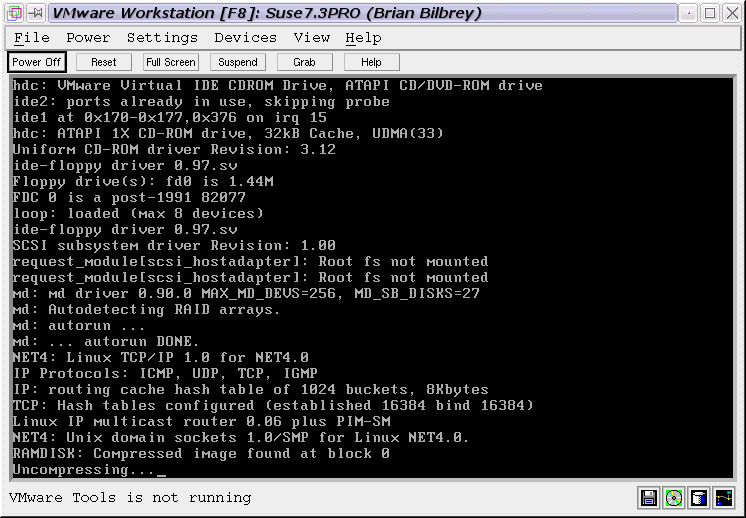
Linux kernel boot
|

GUI Installer startup
|
There are clear, consise directions in the getting started manual about how to boot using the SuSE CDROM to begin the installation process. This even extends to directions in setting up an Award BIOS for booting from CDROM before the Hard Disk. However, the treatment in the manual is just a tad uneven - The key to reading at least the getting started manual is to remember one key fact - it was translated from German to English, probably by native German speakers, and probably native German Geeks. This is not entirely a bad thing, and certainly the Quick Install manual isn't like those old Taiwanese sound card manuals that were a badly folded US letter size piece of paper that talk about the heavenly noises from the cones following correct setting of the plastic that jumps from one pin to another, on the card... However, read this (from the beginning of the Installation with YaST2, page 5):
... Keep the SuSE CD's at hand. These disks may be needed
during the installation. Any data presen on the disks will
be deleted. So let's get started...
Clearly, the data that's permanently graven on the SuSE CD set isn't going to be deleted, so I read this as an introductory warning about the possibility of losing all the data from your current OS/installation - make backups first. That's a reasonable interpretation for me, that will throw Aunt Minnie RIGHT out the window, along with bathwater and baby. Ah, well, there's worse docs written in and by native English speakers for other distributions, so we won't worry - that's the worst I could find in this manual.
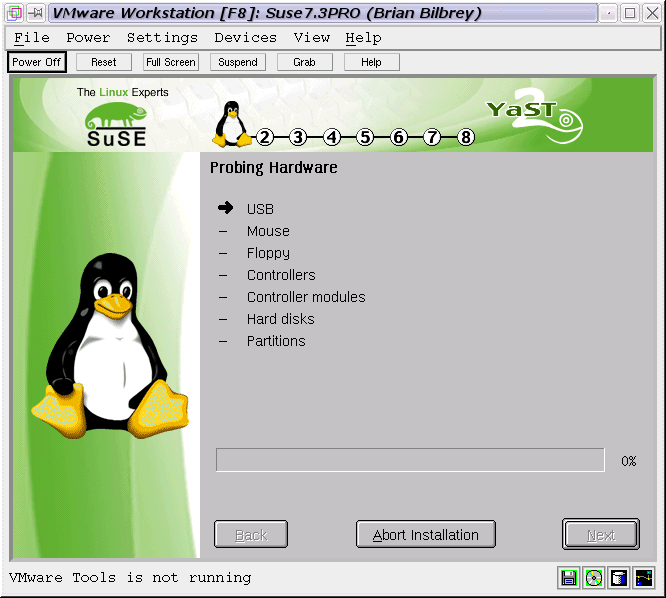
If you're already familiar with the Linux installation and boot process, then nothing from the above row of screenshots contains a surprise. From left to right, we have the system POST and boot screen, followed by the installation bootloader screen that starts up from the CDROM. That colorful boot screen is textmode, and pauses long enough to permit you to choose a textmode install by pressing F2, if you know that the GUI isn't going to work correctly. This is followed by a bunch of text scrolling by on the screen as the Linux kernel loads, identifies key bits of hardware, installed the initial RAM disk (aka initrd) that the installation runs from, and so forth. When that is done, the GUI Installer proper starts up, and begins with some automated detection stuff, shown in the last shot above.

Language Selection
|

Keyboard & Timezone
|

Installation Select
|

Disk Partitioning Easy
|

Disk Partitioning for Experts
|
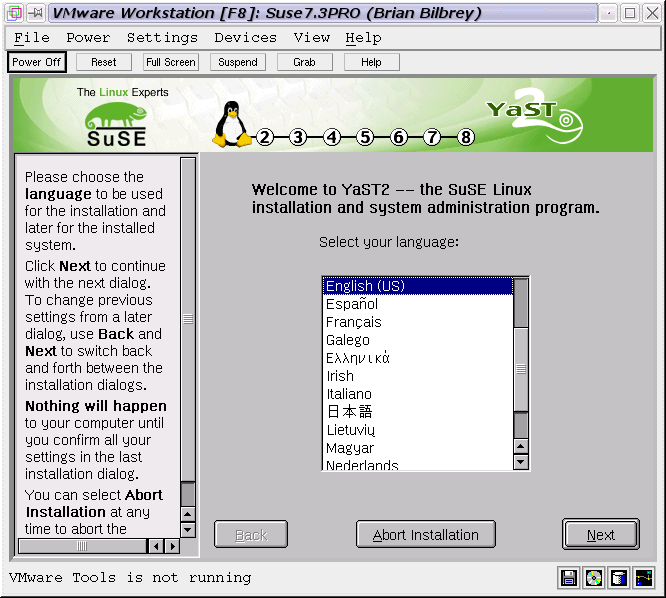
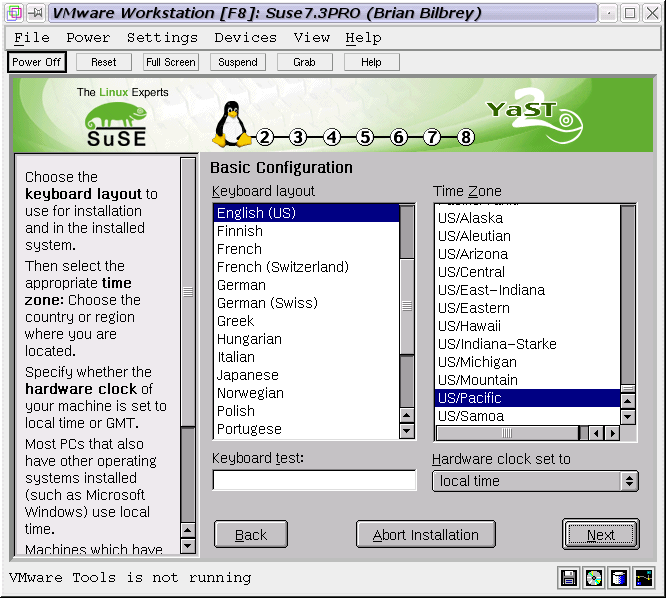
Once all the hardware is probed, then the SuSE installer starts asking about bits that are either user/adminstrator preferences, or could not be determined by the aggressive diagnostic routines. The first user input is above left - a request to select the language to be used for installation, and as a default for system localization. That's followed by keyboard and timezone settings. This includes choosing whether the system (CMOS) clock is keeping time in GMT or timezone local. For boxes that dual boot with Windows, the latter is indicated. Otherwise, I strongly recommend using GMT (aka UTC, these days) for any Linux installation where the machine is connected to the Internet. Many services require a modicum of time coordination, and UTC with a timezone offset is the standard method.
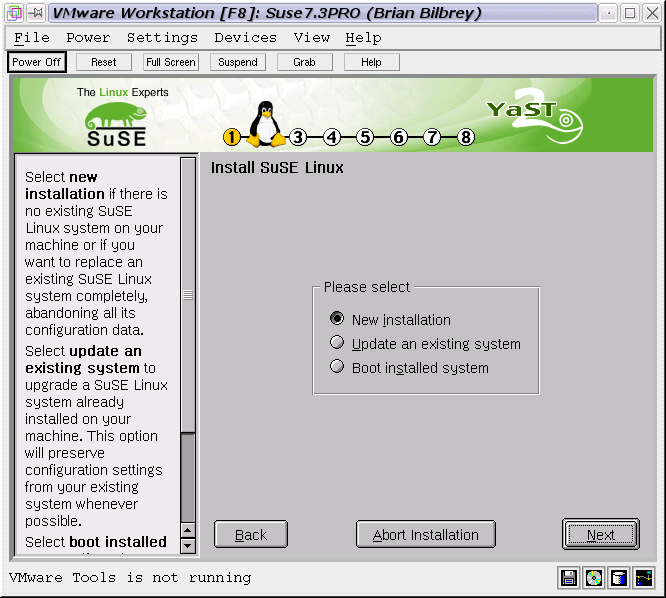
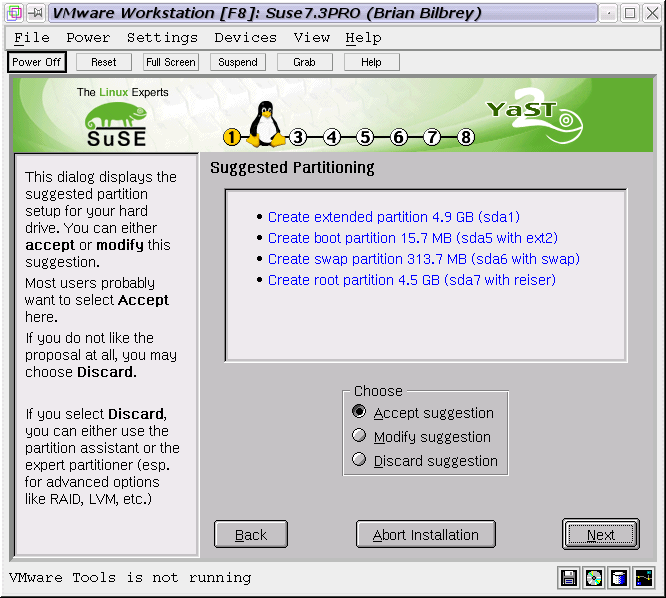
The Installation Method is the next selection, and you can choose from a new installation, an update (upgrade), or to boot an installed system. This last choice permits the SuSE installation CD to be used as a rescue disk. After ticking New installation, I click Next to progress to the Suggested Partitioning screen. This is one of the most complete displays of planned partitioning that I've seen in any Linux installation to date, and I am pleased. While my general tendency is to break up partitions just a bit, I've come to realize that large partitions aren't bad things, especially now that journalling file systems make checking and recovering a system much, much faster. Note that the boot partition is in ext2 format, which permits it to be accessed with standard rescue tools whereas the root partition is configured by default for ReiserFS. I like Reiser, and use it on my workstation reliably today.
Of course, being me, I choose Modify Selection anyway, just to preview the SuSE partitioning tools found in the Expert Partitioner screen. Not too shabby here, either. Clean presentation, lots of expert options, hiding behind configuration buttons that are clearly marked.

Edit Partition
|

Package initialization
|

Software meta-Groups
|

Package Groups
|

Commercial Software
|
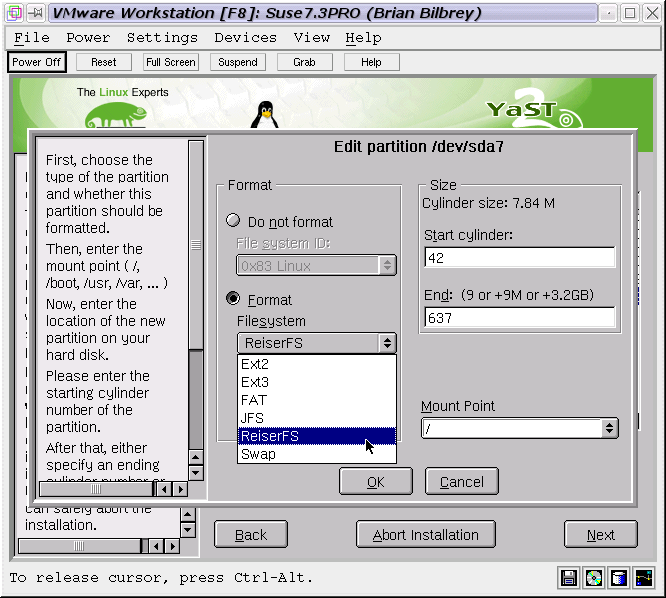
Closing the section on partition editing, the first screensnap (above, left) shows the edit dialog for a single partition, and the choices for partition type: ext2 (the Linux standard), ext3 (the standard, with journalling grafted on), FAT (Windows/DOS readable partitions), JFS (the IBM journalling filesystem, ported to Linux), ReiserFS (the first journalling FS that made it into the Linux kernel) and Swap (you've gotta have some swap, neh?). Of these, I use and am comfortable with ReiserFS. Moshe swears by JFS. Others like ext3 because you can live-upgrade an ext2 filesystem.... Mmmmm. I'll stick with the Suggested partitioning - there's nothing wrong with it.
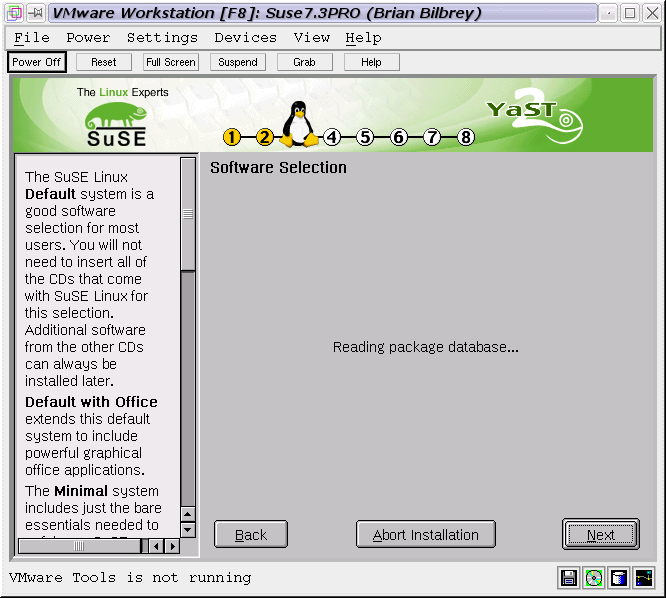
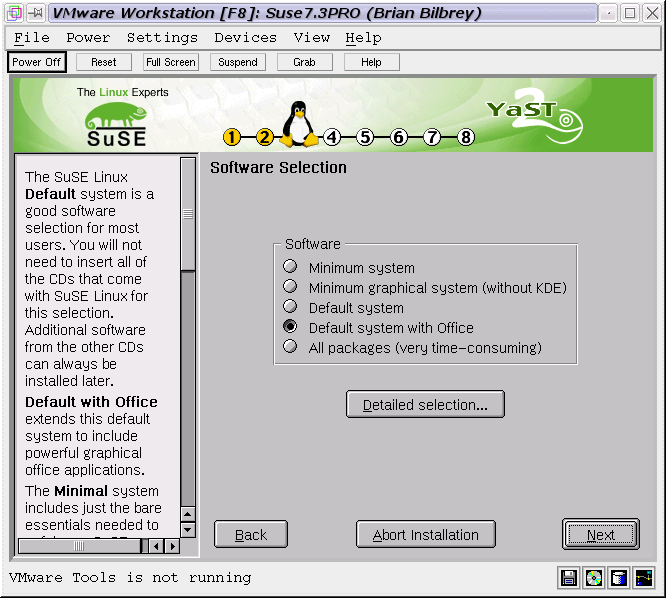
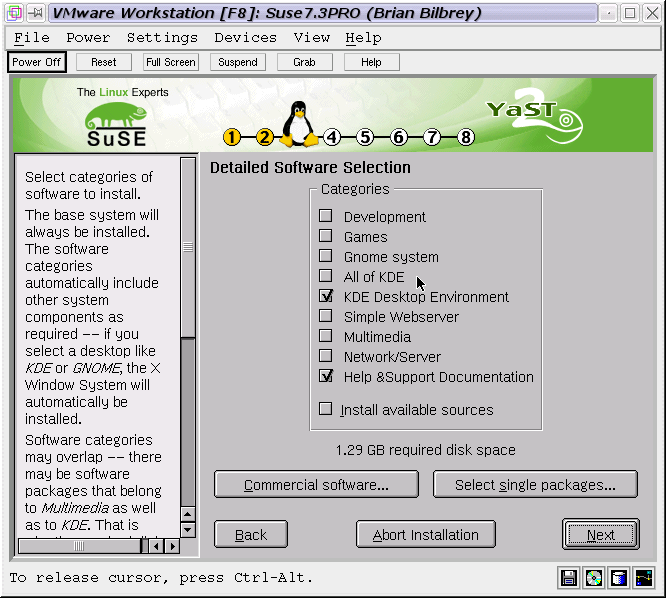
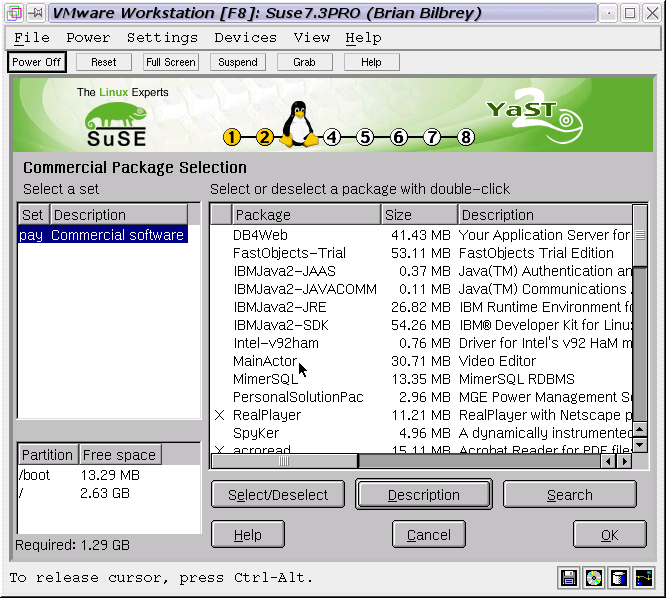
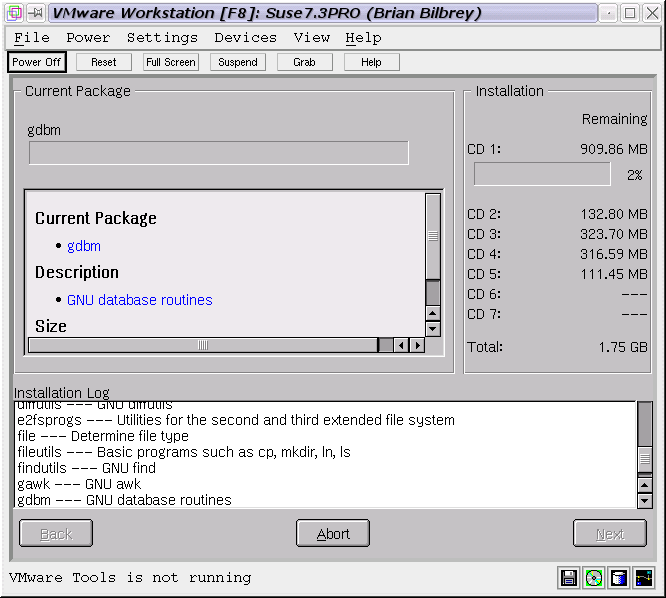
Following that, the system trundles for a bit - fortunately, an otherwise empty screen lets you know that the installer is "Reading package database..." OK. Just so long as it knows what it's doing. There are several levels to the software package selection process: Coarse- and fine-grained package groups, then from dialog boxes, package at a time selection. The latter is demonstrated with the Commercial software (the packages that don't have licenses that permit free redistribution, or similar restrictions).
I just made selections from the "Detailed Software Selection" screen: Games, All of KDE, KDE Desktop Environment, Multimedia, Help and Support... That's it. I don't need NEARLY all of the more than 2300 packages that come with this massive distribution.

Game software choices
|

Boot Loader Config
|

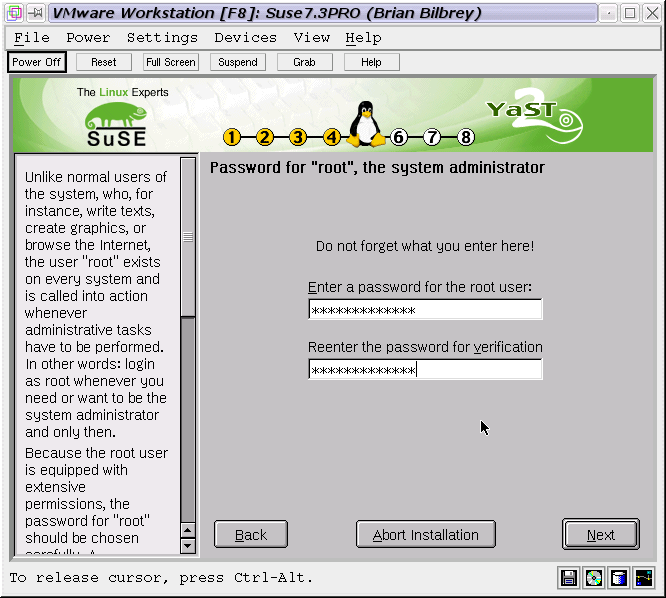
Root password
|

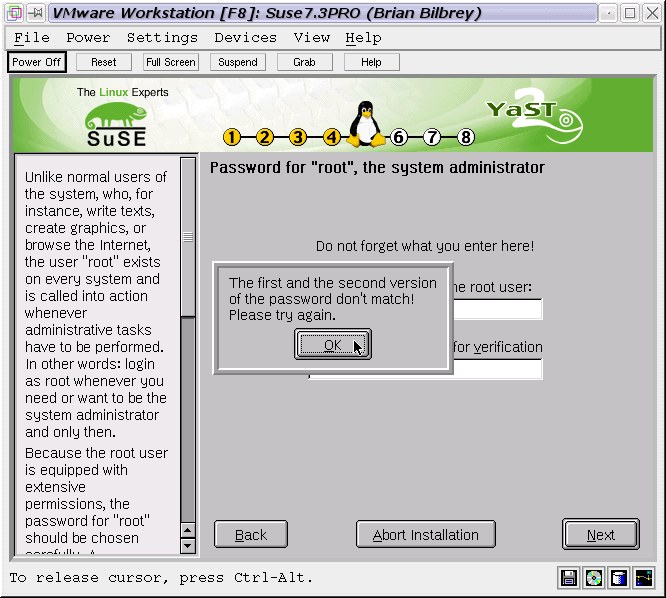
Password error
|
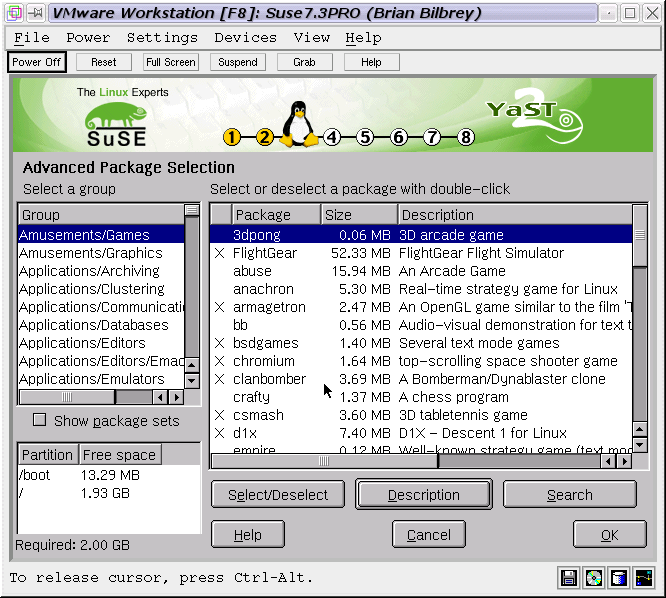
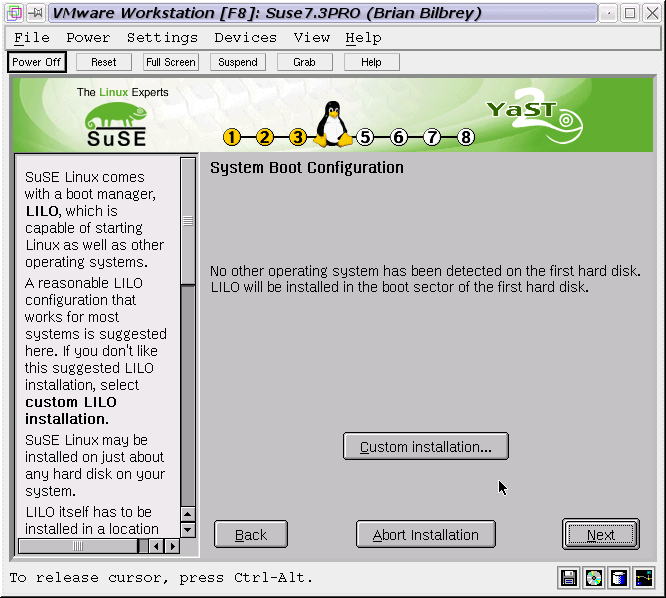
A brief glance at one of the other package groups (Games) shows us more of the same - more choices than you can shake a stick at. Whew. Choosing next, I progress into the Boot Loader Configuration screen. Since this is a "clean" install, there aren't many choices - I will let the installer put LILO in the MBR.
Next up is the root password. As with any Linux installation, the root user is the superuser, the administrator, god of the system. Don't, don't, don't give root a password like root, or admin or <shudder> password. Make it a tough one, and protect that information - an easy root password is a hacked box, sooner or later. And, be sure you enter the same thing twice, or you'll see the error notice box shown at right, above.

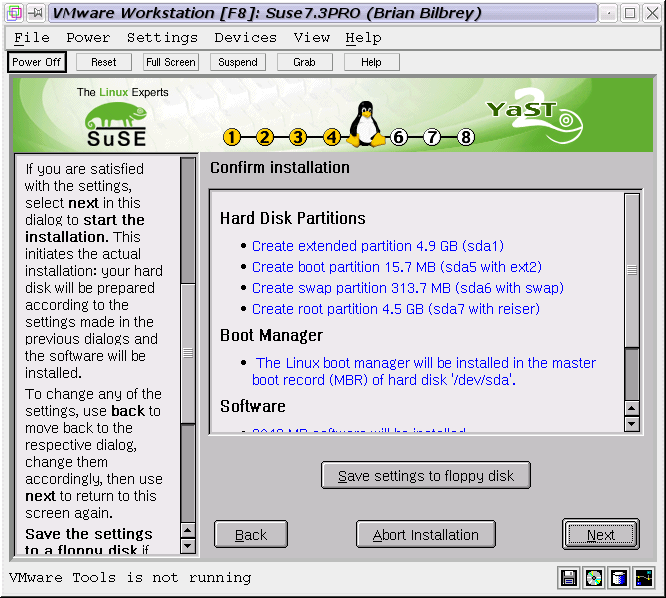
Confirm
|

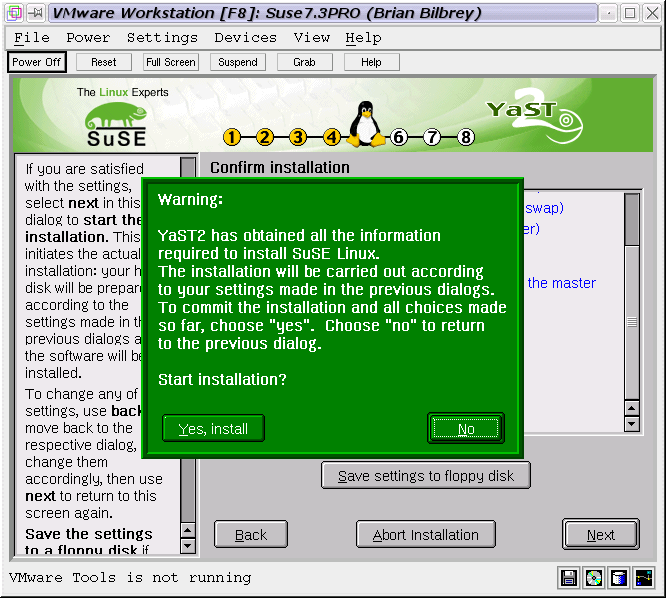
REALLY Confirm
|

Software installs
|

Basic Install proceeds
|

Confirm reboot
|
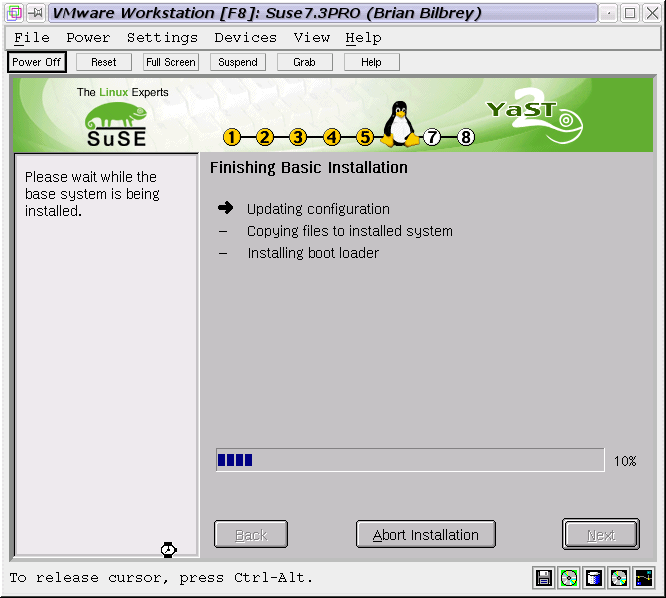
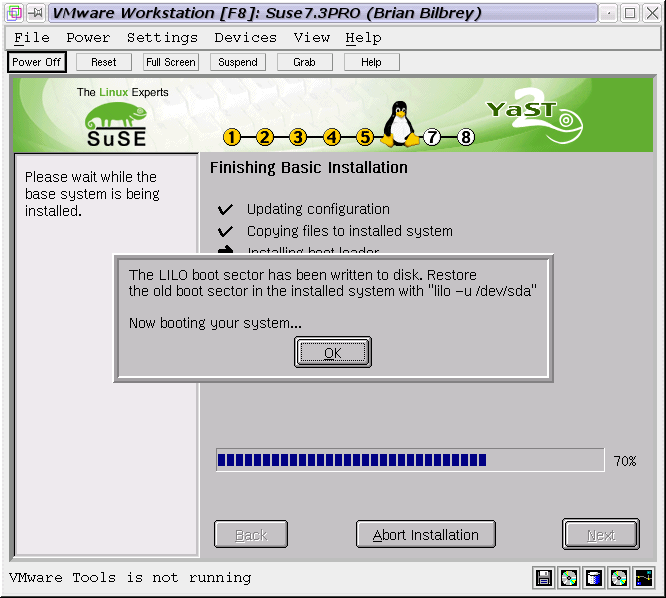
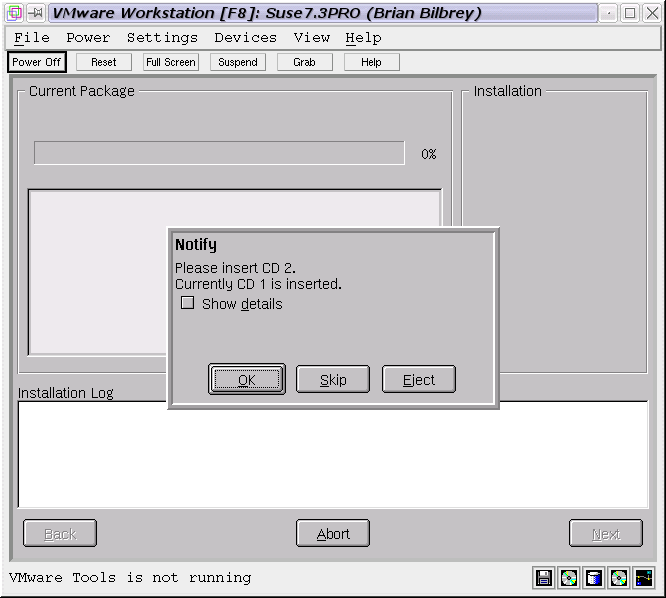
Now all the important pre-installation user input is complete. Up to this point, no changes have been made to the system - no formatting, no software. Now it's time to commit. The first screen above shows a review of all selections made to this point, and when you select Next, the bright green Really, we're going to start installing the system now dialog forces reconfirmation of the decision. Once started, the disks are configured and formatted. Then the basic system and other packages from just the first CDROM are loaded. When that's complete, assorted automated steps are done, from updating and copying to installing the boot loader (LILO, as previously discussed). The basic installation finishes with a confirmation dialog to reboot the system. If you haven't done so, eject the "1" CDROM so that you don't accidentally start the whole process over again.

The rebooting kernel
|

Picking up with CDROM 2
|

Monitor selection
|

X Server config
|

SuSE auto-setup process
|
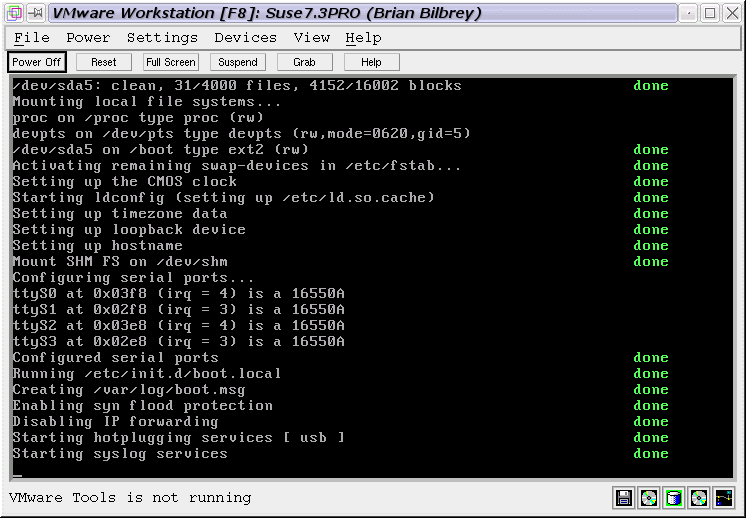
The system reboots from the hard drive this time (as opposed to the CDROM). Of course, this will vary if you've done something special, like a dual boot with Linux booting from the floppy, or you're set up with System Commander or whatever your specific circumstances are. Anyway, reboot into SuSE Linux. After the kernel is booted, the installation picks up where it left off, installing packages from the veritable cornucopia of CDROMs that ship with this distribution.
I've been asked why Linux is often installed in two stages. That's not too tough for me! When installing the first packages, the system disk partitions are mounted in subdirectories from the initial RAM disk that the installation software is running from. That's how the installer can partition the drive, mount the disks, and start copying software, all without multiple reboot passes. However, it's a pain adapting a package to install in a directory tree that's substantially different than it's final home. So once a booting system and all the initially required utilities are installed onto the hard disk partitions, the system is rebooted, and a run-once process picks up the installation from where it left off, installing and configuring the many remaining software packages in their correct environment.
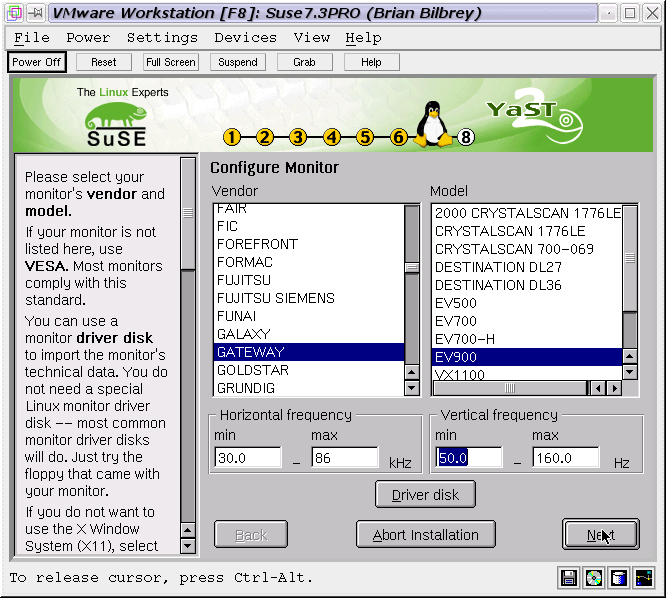
After all the software is installed, then questions pertaining to the X Window (GUI) system are asked. Some monitors and many video cards are autodetected by the SuSE routines. One nice feature is shown in the Monitor Selection screen shot above, where there's the option to use a driver disk? But (you say) I only have a driver disk for Windows! That's right, and the oemXXXX.inf file contains data that SuSE can use to configure your monitor settings correctly for the X server to run properly. Alternatively, you can do as I do, and simply confirm (or enter) the correct Horizonal and Vertical settings (usually found at the front or back of your monitor's user manual).
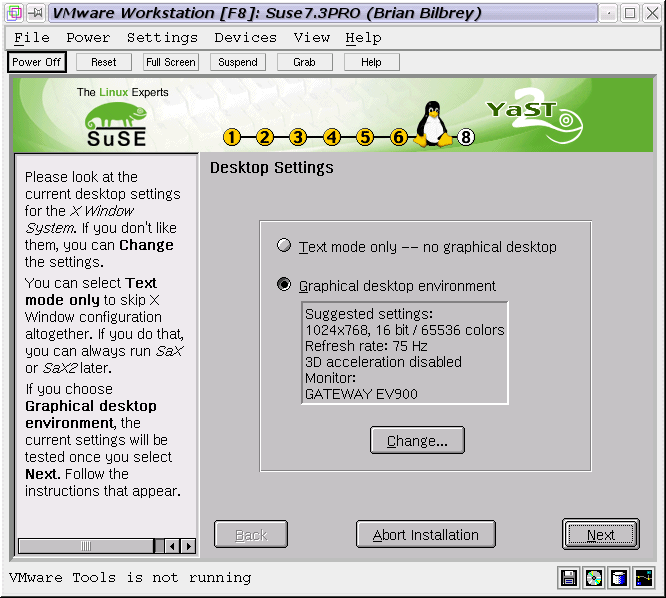
X server configuration, also known as Desktop Settings, comes with a correct, if conservative, set of defaults. Although we could tweak the setup here, I am loathe to muck with X settings until I have a chance to see the system running. I find it a better choice to accept whatever defaults the Linux installer uses, as there's always the possibility that I'll hose something while tweaking it. Best to have a known-good configuration to fall back on. So I don't change from the suggested settings, but choose Next to progress to the penultimate phase of installation, where all the initial system configurations are written (as in above, rightmost).

Congratulations
|

Hardware setup
|

Network I
|

Network II
|

Network III
|
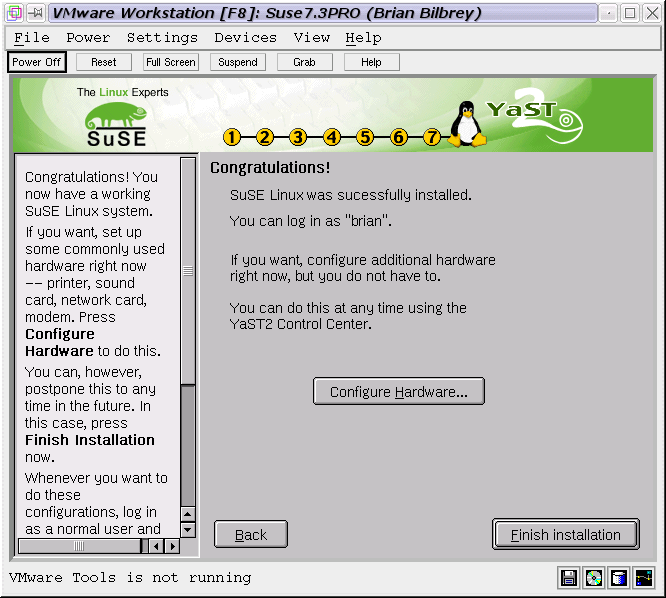
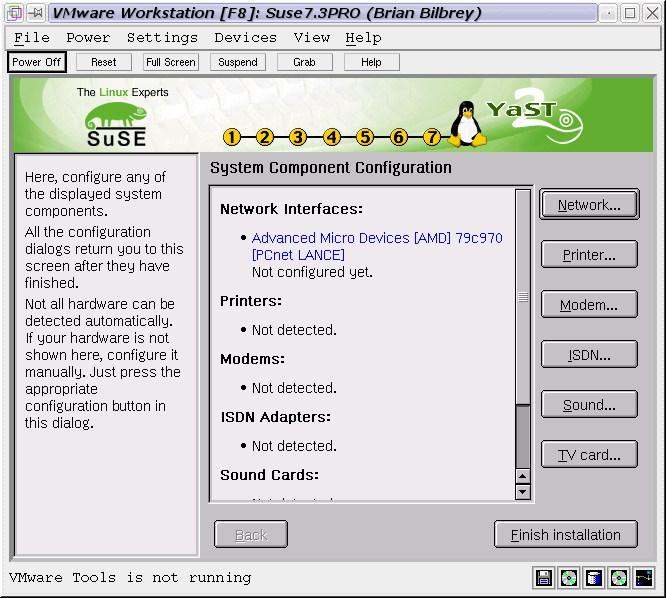
Congratulations, the screen announces. You're done - or are you. There are still bits of hardware that remain in limbo. Now these can be configured after first login, but let's get what we can, out of the way now! Choose Configure Hardware...
Here's a list of dectected devices that can be configured. As you can see from the list, there's not much for me to do - your system should be considerably more, um, populated than this. For instance, I didn't make the printer available to the VMware machine - I'll print over the network, thanks! Ah, network. Yeah, let's set that up - start by choosing the Network button.
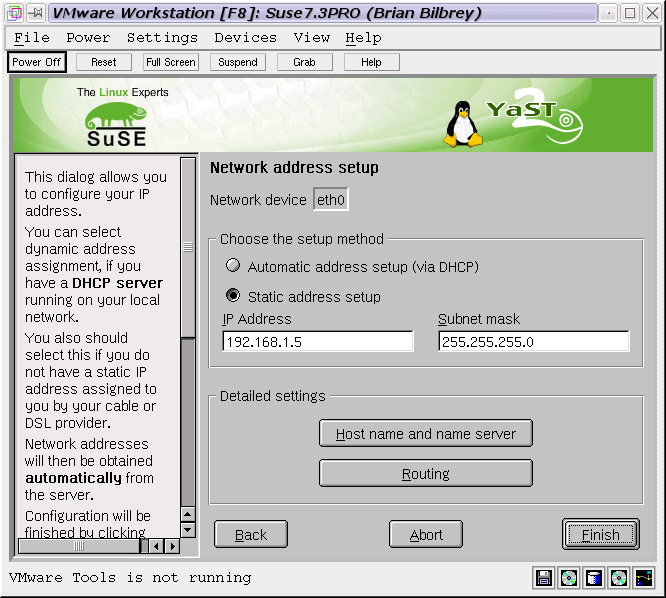
In the first network dialog, I configure this system to run with a static IP that I assign from the small pool that I use for the home network. For larger networks, I'd probably have the system setup to automagically pick up IP number, nameservers, gateway devices and such from a DHCP server. Here, I don't bother. After setting the IP address and accepting the default subnet mask, I proceed to the Host name and name server dialog. There I've entered the hostname and domain information for the system. Additionally, I can enter name servers and domain search terms. These last should be left blank if using DHCP, since they'll be filled in automatically, as previously noted.
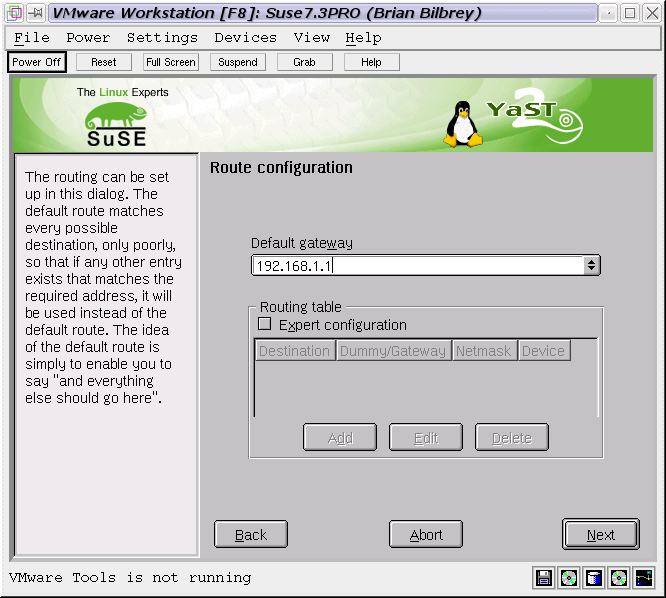
Finally (for networking), I can setup the default gateway address, and optionally, any other static routes I might need to correctly configure my box. There, that's done.

Save Network settings
|

Success
|

Printer setup
|

Network printer
|

More success
|
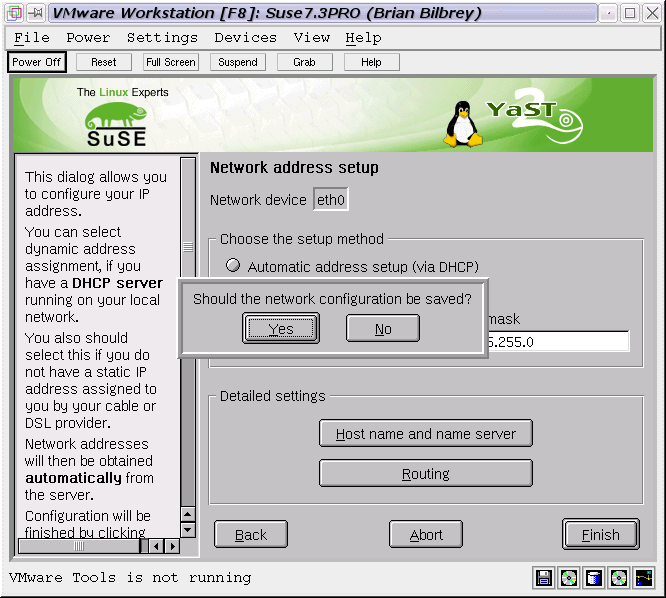
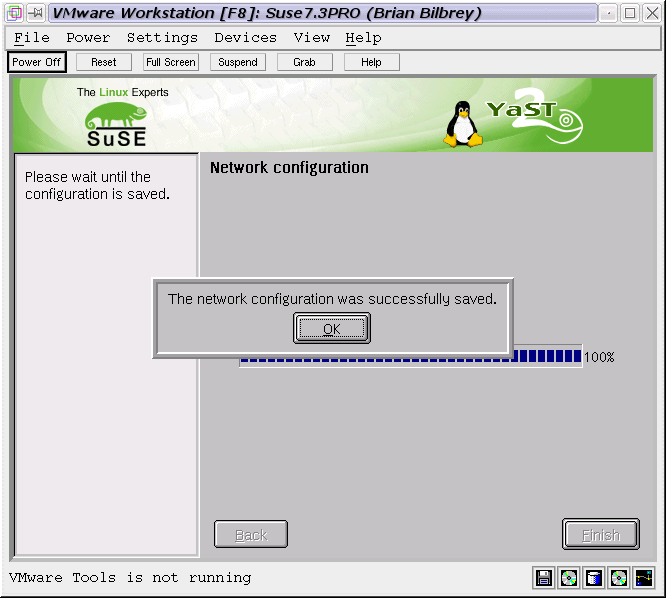
Once all the network settings are complete, confirm to save and implement the setup. Then, click OK to dispose of the Success dialog. Bah. Unneccessary dialog boxes annoy Brian greatly. Hint to install tool developers: Extra clicks are BAD. If you don't need a dialog box, then dump it. Since returning to the hardware overview screen (not shown) has the card configured properly, that's enough confirmation that the process was successful. Ah, well...
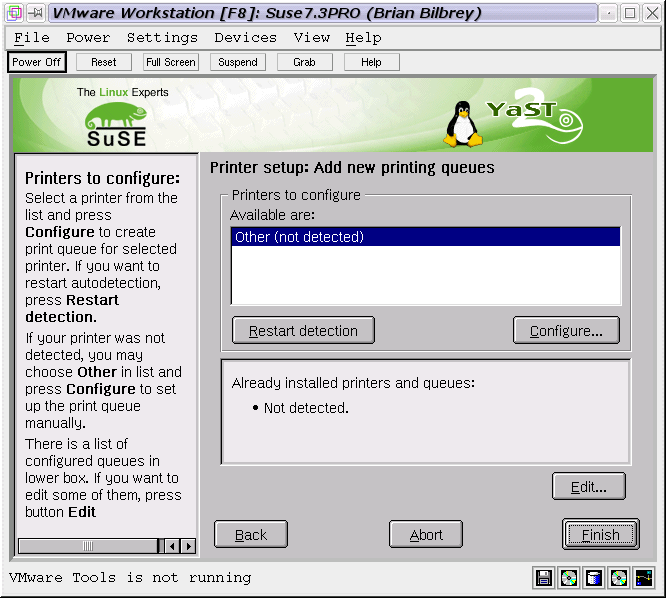
Now for printer setup. I know, I said that I left the printer off of the VMware configuration. That's OK, since now the network's up, I can print to the printer by TCP/IP networking. After selecting Configure... from the Printer setup dialog, I can add a new printer, first by selecting from a list of printer types: Local Printers (Parallel, USB, Serial), LPD Network Printer (Forwarding queue or Prefilter queue), or Other Network Printing (Samba or Novell printer).
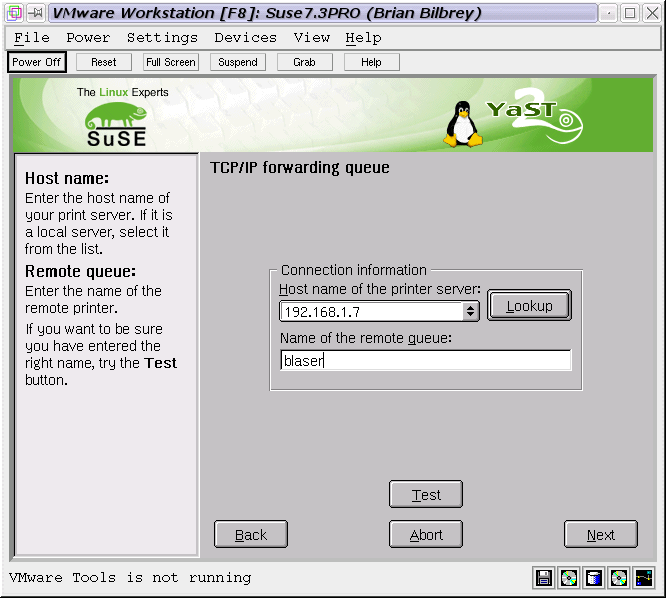
I selected Forwarding queue, bringing me to the dialog shown fourth, above. This data is composed of the IP address of the printer host (in this case my main workstation, Garcia at 192.168.1.7), and the name of the printer queue on Garcia (it's blaser). Selecting Next, I enter a name for the printer, as it will be used locally - I replicate the queue name from Garcia, for consistency. Selecting finish saves the printer data, and the system settings, resulting in yet another Success dialog.
That done, I confirmed the soundcard settings, then chose Finish Installation from the base Hardware Settings screen.

Boot time
|

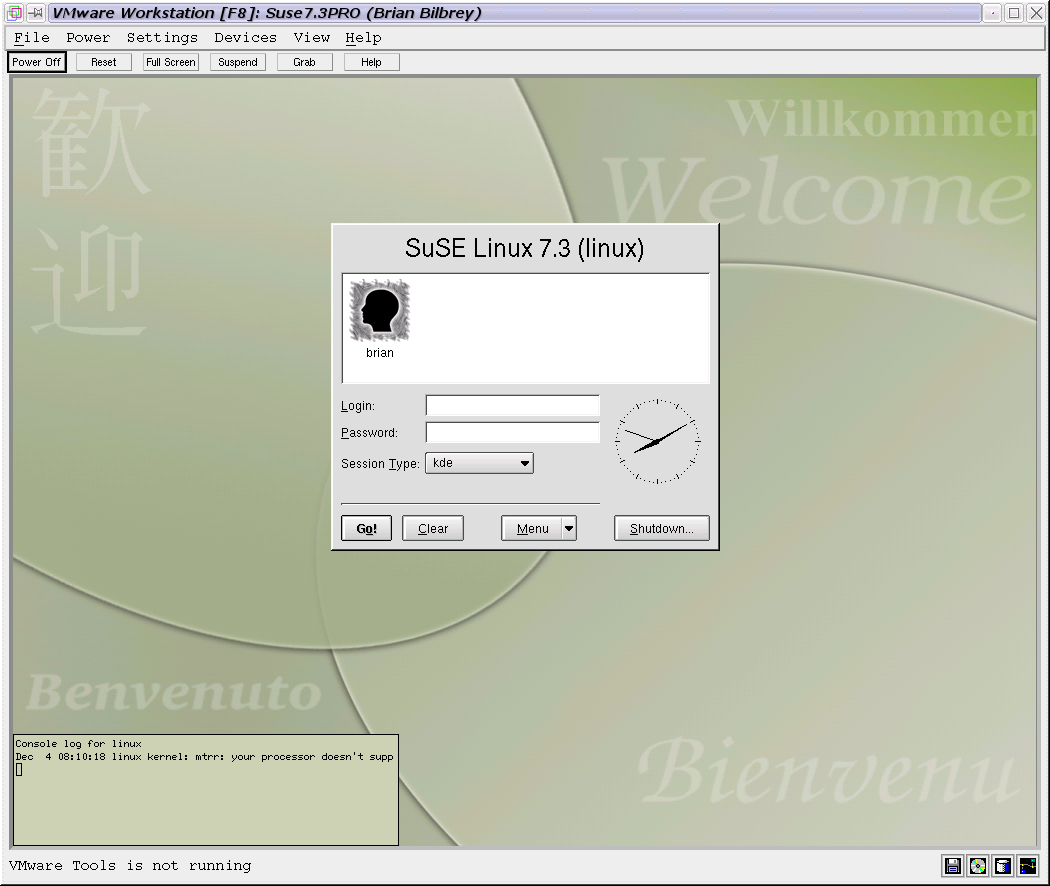
KDM login screen
|

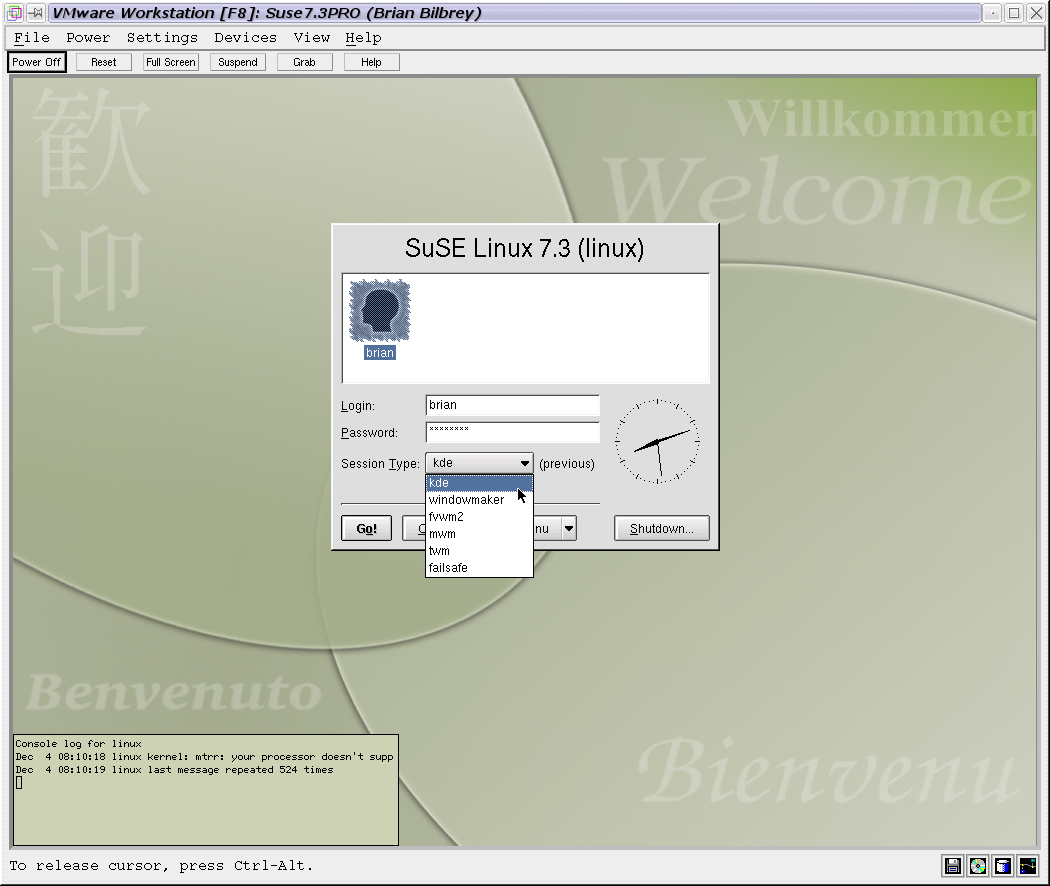
WM Options
|

Starting KDE
|
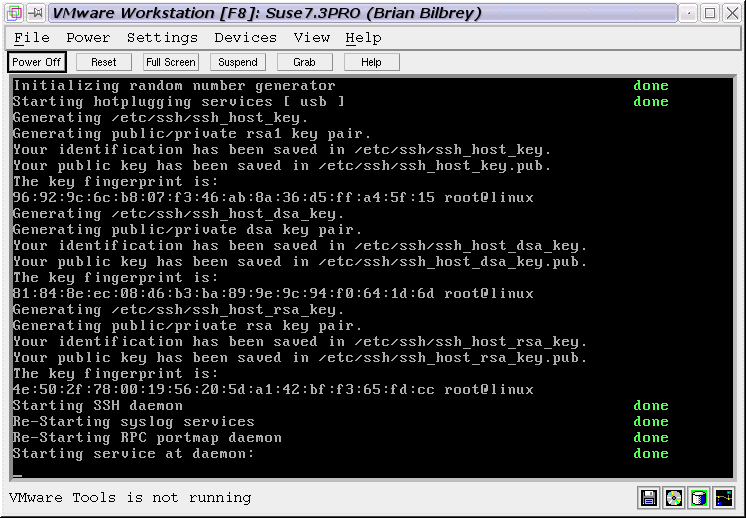
All the hard stuff is done - now it's boot, login and experiment time. After yet another rapidly scrolling text screen of Linux boot messages (or Klingon, to some), then KDM takes over. When, like this configuration, Xwindows starts up automatically before anyone is logged in, then a login manager takes control. KDM is the KDE version of this program. There's also the venerable XDM, and Gnome version, GDM. In these newer tools, there are session and system management tools as well as simple login facilities as provided by XDM. In the third shot above, you can see the range of window managers available at login. These are KDE, WindowMaker, FVWM2, MWM, TWM and a failsafe X login (no window manager at all). Note the absence of Gnome - I didn't select it from the list of optional software during boot.
Enter the username (or select from the face icons in the top section of KDM, then enter the password and select Go!. If you've entered the data right, as I have, for once, then you'll get a glimpse of the KDE splash screen, which shows the various underlying utilities of KDE starting up, sequentially. This process ranges from about 5 to 30 seconds or so, depending on the speed of your computer

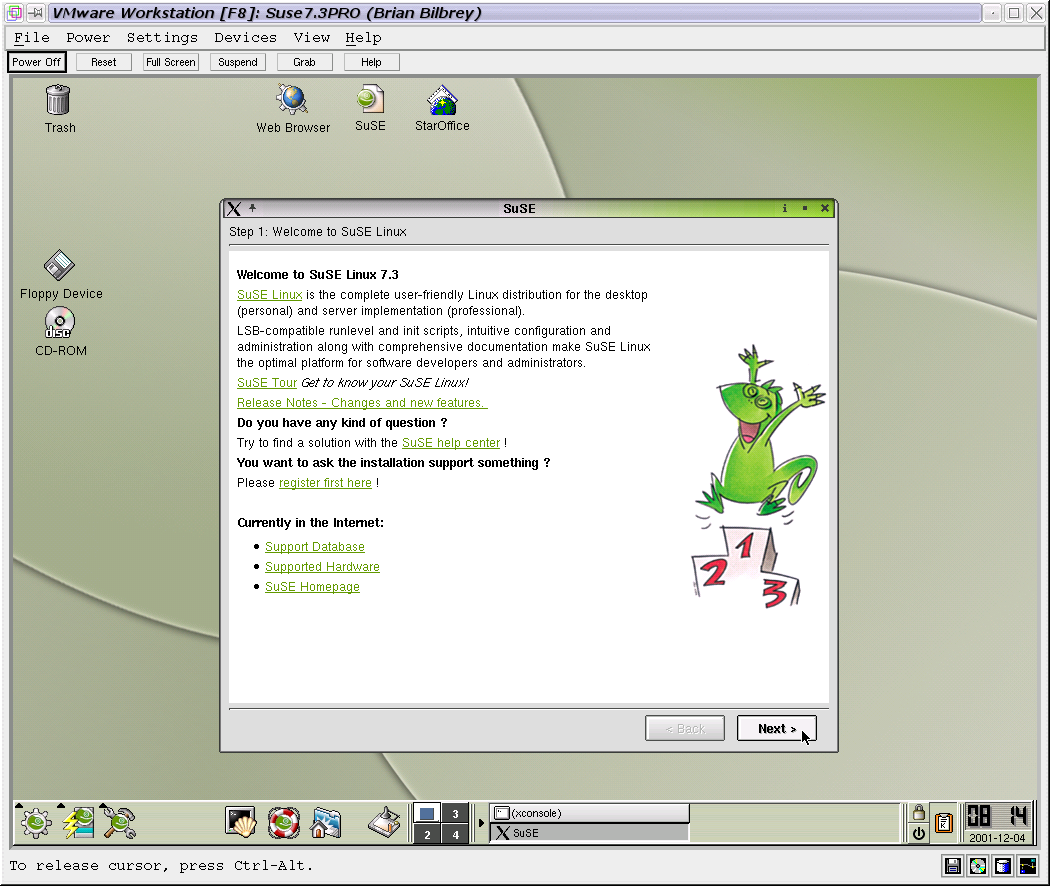
First login dialog
|

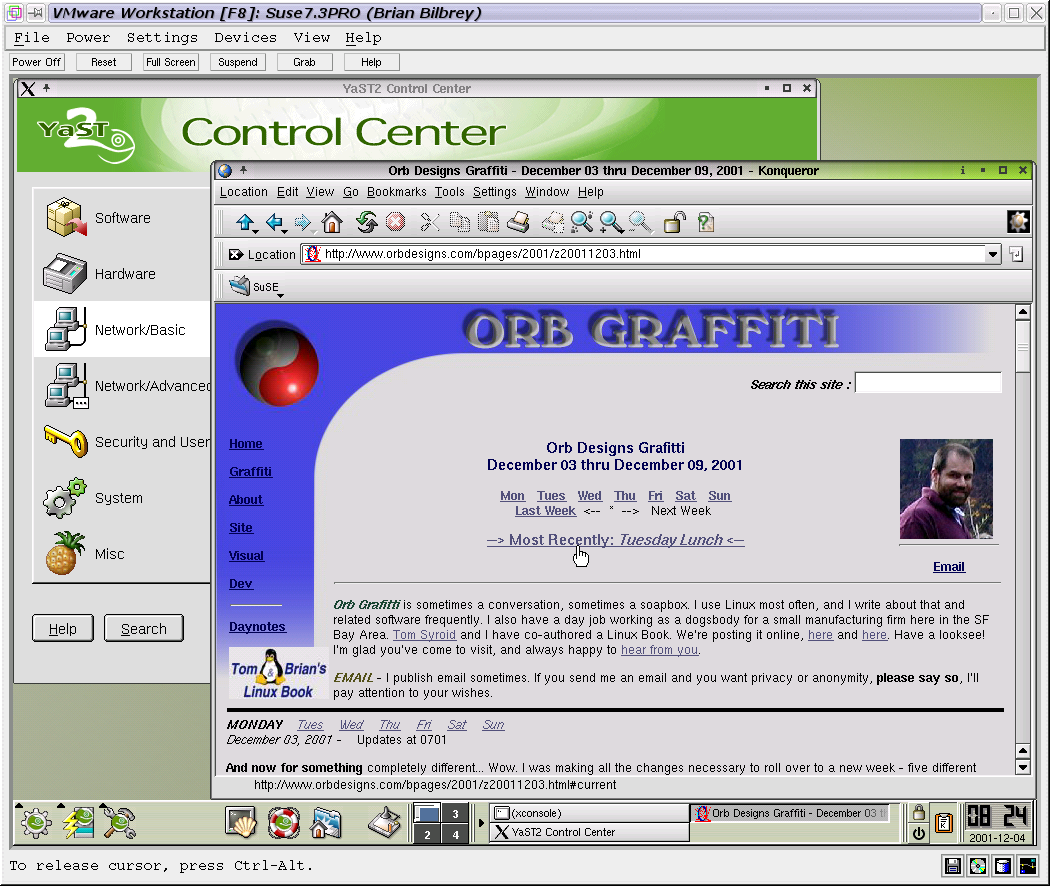
Browser running
|

YaST2
|
Once the login is complete and KDE's running, the first time login begets a dialog that points out a few system resources, and a minimal KDE configuration routine. When that's done, you're on your own, to learn and explore.
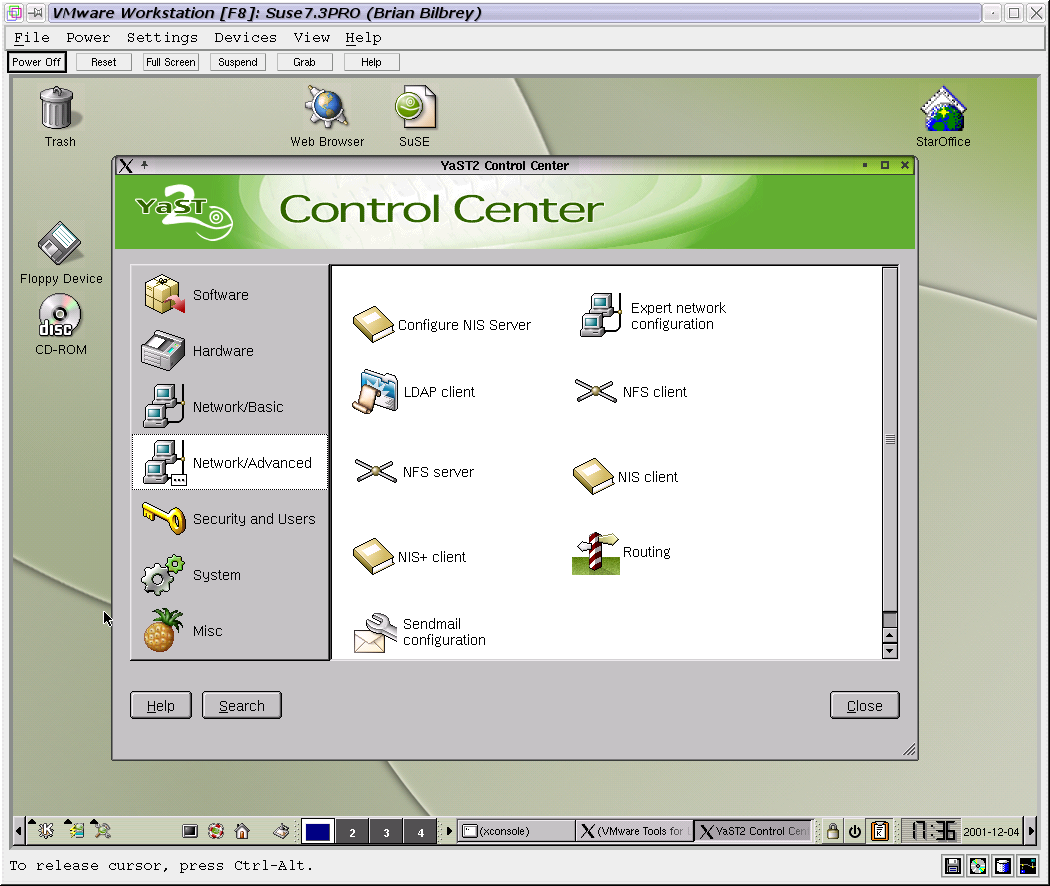
First thing I do is pop up the configuration tool and a browser. The browser, in the foreground in the center shot, is Konqueror, the KDE Browser/File Manager. Behind, and solo in the final screenshot of this report, YaST2, which is (I think) an acronym for Yet Another System Tool 2nd generation. There are some VERY nice features to YaST2, and I'll look forward to bringing you a report on those shortly.
This SuSE 7.3 Professional Linux install is complete. I'm glad to share this process with you, and hope you found it useful. If so, tell me, please, whether praise or criticism, so that I might improve the information I present here for your service. Until next time...
All Content Copyright © 1999-2001 Brian P. Bilbrey.